Kit note
How to install a Packout mounting plate
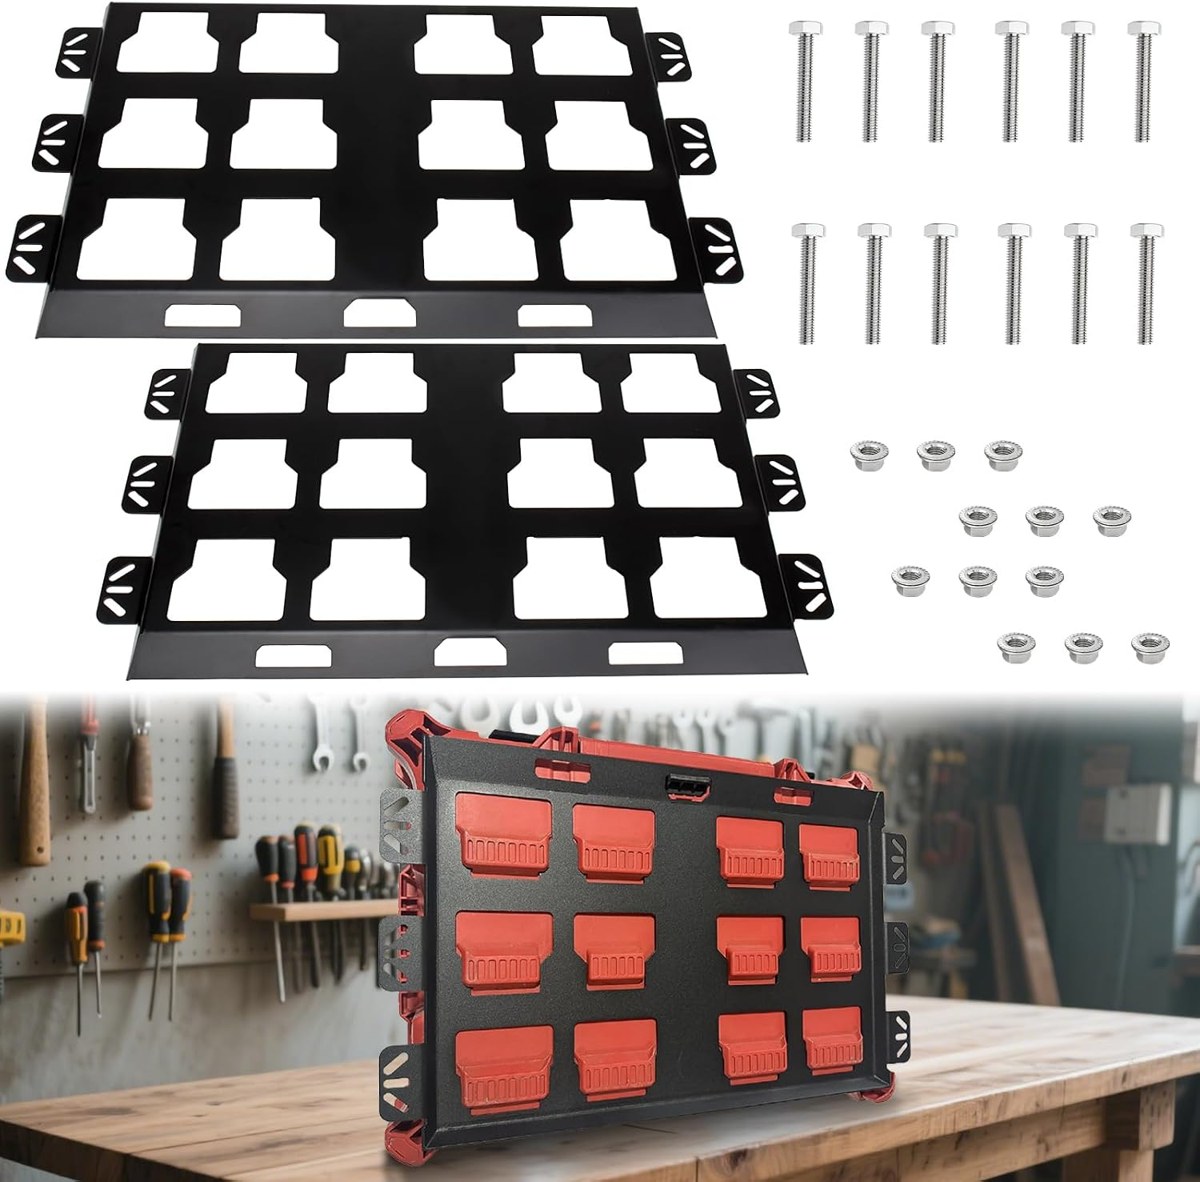
A mounting plate gives Packout boxes a fixed place to lock in. Installed well, it holds a full stack in a moving truck; installed badly, it pulls through the panel. Here is the careful way.
Plan the spot
Decide where the box will live and how you will lift it off: you need room to slide the box straight up and out. In a vehicle, check what is behind the panel or floor before drilling — fuel lines, brake lines and wiring. On a garage wall, find the studs.
Mark and drill
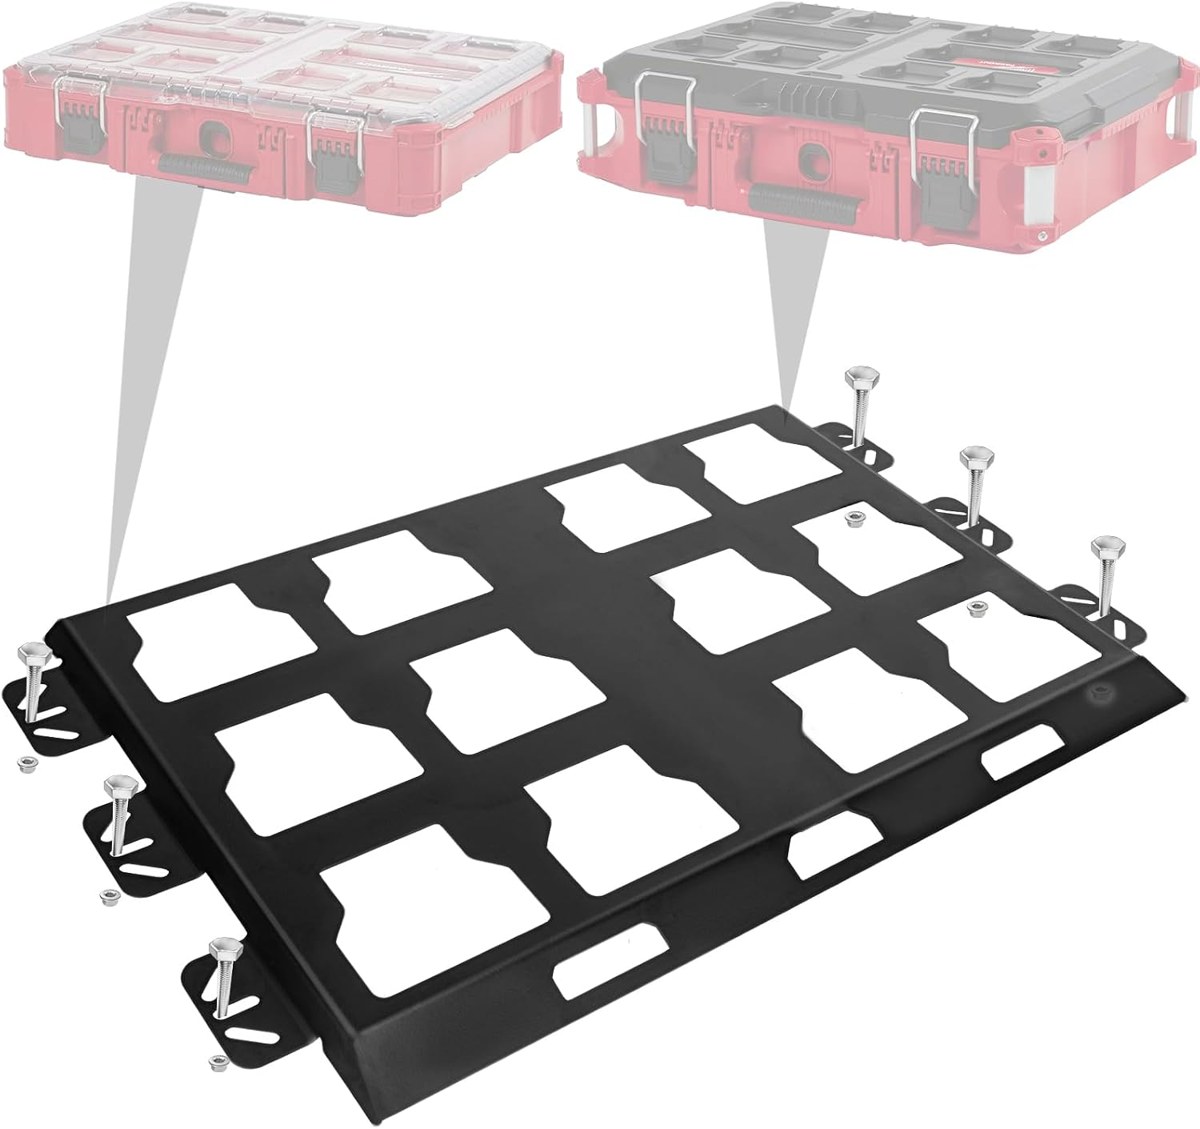
- Hold the plate in place and mark the mounting holes.
- Drill pilot holes, then the final size for the bolts.
- Deburr and paint bare metal edges to stop rust in vehicles.
Use the backing plates
Sheet metal and plywood are thin. Put the molle backing plates behind the panel so each bolt clamps against a wide plate instead of a small washer. It spreads the load and stops the bolts pulling through when the truck hits a bump.
Lock and test
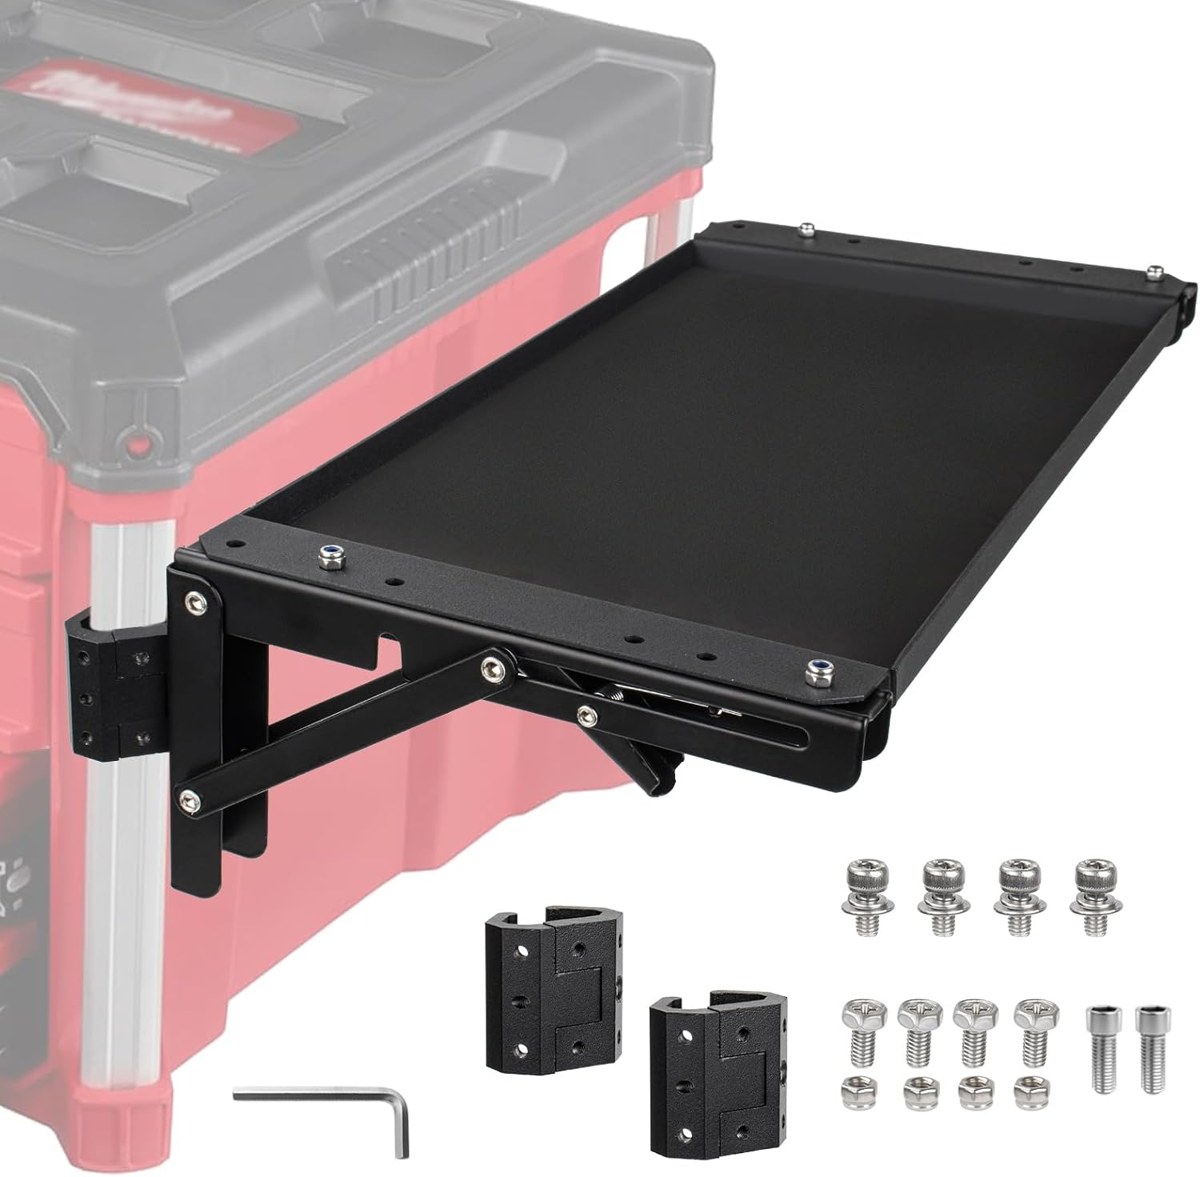
Tighten the bolts evenly, click the heaviest box onto the plate and pull hard in every direction. If the plate flexes, add more bolts or backing. For a full mobile setup, add the folding work table to the stack and park it on the 200 lb dolly in the shop.
Wall mount in the garage
For a garage wall mount, find two studs with a stud finder and mark their centres. Hold the plate level at the height you want the box handle, mark the mounting holes that line up with the studs and drive structural screws into the wood. A Milwaukee Packout box hanging on the wall keeps the floor clear and the tools organized, and it lifts off in a second when you need it on the job.
In a truck, van or UTV
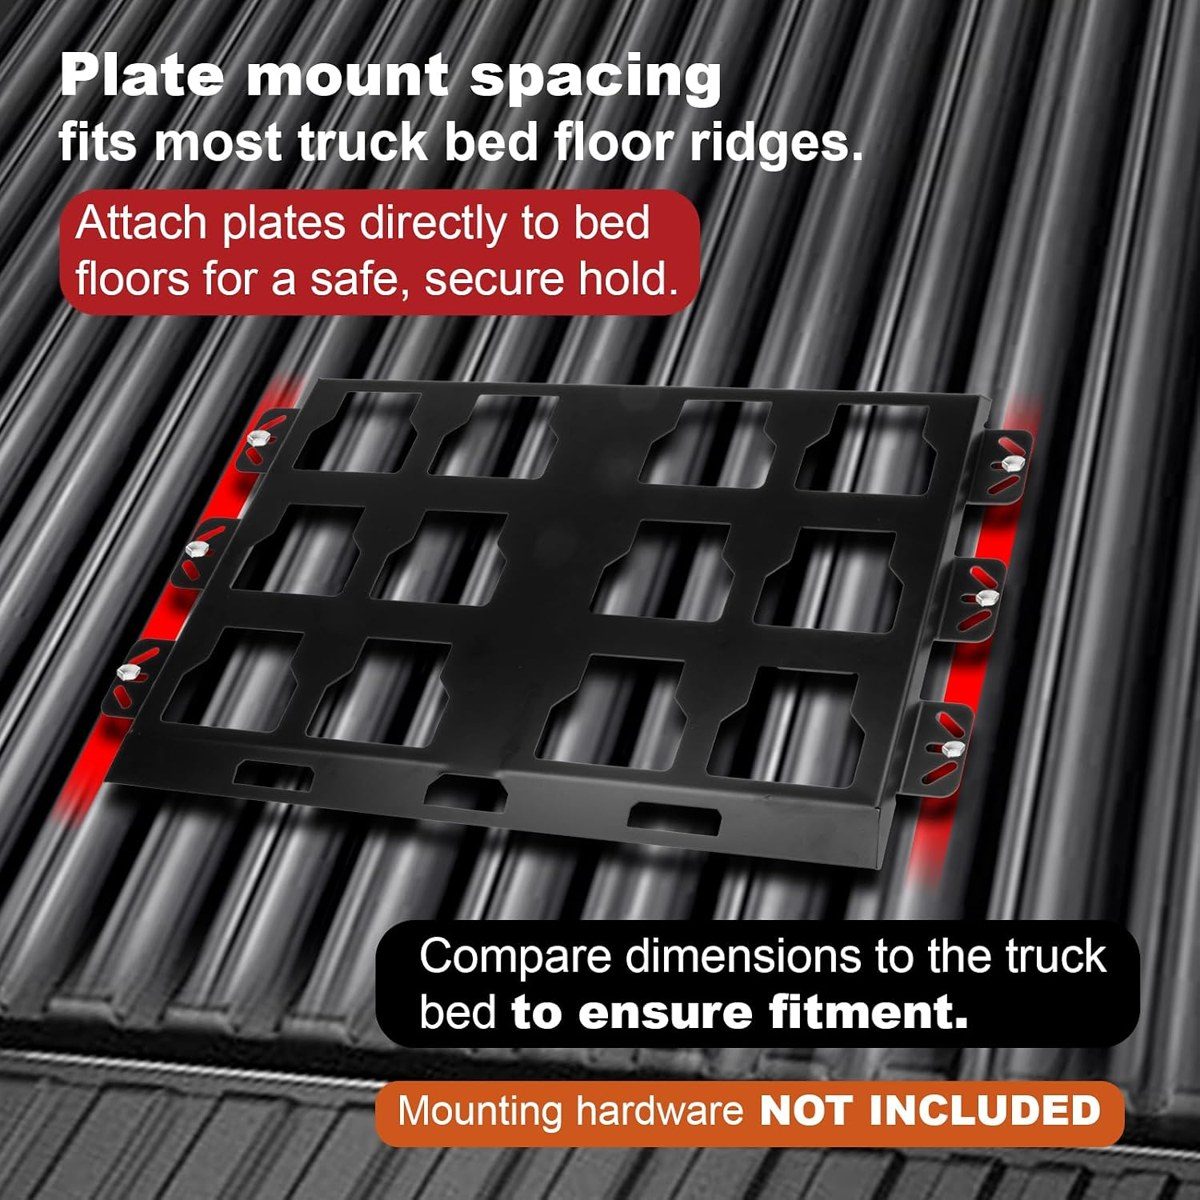
Truck beds and van floors have ribs and cross-members. Check the spacing, choose flat sections for the plate and keep clear of anything underneath. Through-bolt with the backing plates on the underside, use lock nuts, and check the bolts again after the first week of driving. On a UTV or Polaris RZR cargo bed, the same rules apply: wide backing, lock nuts and a final tug test before you load up.
- Measure twice, drill once.
- Seal bare metal edges to stop rust.
- Leave lifting room above the box.
- Re-check bolts after the first rough ride.
Painting, sealing and setup
Before the final install, clean the area, and seal or paint drilled edges in a truck or trailer so they do not rust. Many customers build a wall mount setup first and add a floor plate in the truck later; a Packout mount system grows one plate at a time. Note the spacing you used for the first plate, and the second one will line up perfectly. On a Polaris RZR or other UTV, check the cargo bed weight limit before loading a full stack.
Which plate fits your boxes
LAZORA plates fit Milwaukee Packout boxes, organisers and toolboxes that use the standard Packout locking points. The 2-pack covers two boxes side by side or one on the floor and one on the wall; the single full plate is for one box in a cab, on a shelf or at the end of a workbench. Both come with the molle backing plates and bolts in the box, so the install is complete without a trip to the hardware store.
Plate, table and dolly as one storage system
The mounting plate, the folding table and the rolling dolly make a complete Packout storage solution: boxes ride secure in the truck on the plate, roll around the shop on the dolly, and open into a workstation with the table. The parts are designed to work with the standard Packout locking points, so the same boxes move between all three without tools.